pierre hermé's ispahan macaron

apple tarte tatin

In my mind, Pierre Hermé is indisputably the king of macarons not only for his mastery of the skill and technique but more so for his inventive flavor combinations and the ispahan macaron is one of those incredible creations. If you get the chance, definitely get yourself one from Pierre Hermé but it can be surprisingly easy to make at home.

What flavor is ispahan?

Named after a type of rose, the ispahan macaron is filled with a rose flavored white chocolate cream with lychees along with fresh raspberries. Macarons can be heavy to eat at times, especially if they are oversized like these, but this is not a problem for the ispahan; the cream is light and delicate while the fresh raspberries cut through the creaminess of the white chocolate cream and the sweet macaron shells.

pierre herme ispahan macaron r

How to put it together

The macaron shells

Prepare the macaron batter normally however before you fill the piping bag, find a jar or something you can trace that’s approximately 3.5” in diameter. I alternate between using parchment or silpat to line my baking sheet, but I would recommend parchment in this situation to easily trace circles. Don’t forget to flip the parchment over so that the pencil lined side is facing down and not in direct contact with the macaron batter.

As you pipe the macarons, start in the middle of the circle and while keeping even pressure start moving the piping tip in small circles to help distribute the batter. Stop piping once the batter fills up ~80% of the circle as it will continue to spread out to fill out the rest of the circle.

Building the macarons

ispahan macaron step 1
ispahan macaron step 2
ispahan macaron step 3

Start by arranging a ring of raspberries around the outside of a macaron shell. Add a dollop of the rose white chocolate cream and add another raspberry in the center. Arrange the lychee in a ring around the center raspberry on top of the cream. Finish by adding a generous spoon of the cream before adding the second macaron shell on top.

A few tips:

  • I’m aware that Pierre Hermé typically uses the Italian meringue method for making macarons (using sugar syrup), but I find the french method which I include below to be quicker and easier and with fewer pots to clean.

  • Go easy when adding floral flavors like rose or lavender because if you add too much it can easily start to taste “soapy” or like your grandmother’s potpourri. The amount I wrote out below is a relatively muted rose flavor so if you’re a big fan, feel free to add more per your tastes.

  • Wash the raspberries gently as they fall apart easily, and dry thoroughly to prevent any extra moisture from getting onto the macaron shells

  • Store in an airtight container in the fridge for a few hours before serving to let everything come together. The macaron shells can be a little harder coming straight from the oven but they will settle into the perfect consistency after sitting in the fridge.

  • I find it easiest to buy lychees canned in syrup with the seeds removed but if you want to use fresh you can as well.


pierre hermé’s ispahan macarons

serves 6

ingredients

for the macaron shells:

200 g almond flour

200 g powdered sugar

160 g egg whites (~4 large egg whites), room temp

1 teaspoon vinegar or lemon juice

160 g granulated sugar

red gel food coloring

for the filling:

100 g high quality white chocolate, chopped

100 g heavy cream, split into 50 + 50 g

3 - 4 teaspoons rose water

optional:

5 lychees, canned in syrup

1 pint raspberries, washed and dried carefully

steps

macaron shells:

1. Sift together dry ingredients: Sift together the almond flour and powdered sugar and evenly mix the two together.

2. Whisk meringue: Add the egg whites and vinegar/lemon juice to the bowl of a stand mixer with the whisk attachment. Start beating on medium speed until soft peaks and slowly add in the granulated sugar. Continue whipping on high speed until medium stiff peaks. The meringue will look glossy and peaks should form at the tip of your whisk that can hold its shape as you hold your whisk up.

3. Macaronage: In 1/3’s, fold in the almond/powdered sugar mixture along with a few drops of red food coloring. Continue with the rest until there are no more visible dry streaks. This is now when you have to take your time. Gently fold the mixture, making sure scrape from the edge of the bowls. As you continue folding the mixture and the meringue deflates, you will see the meringue become glossy and form ribbons when you lift the spatula. Stop mixing when the batter is just loose enough to form a figure 8 without breaking. I prefer to stop mixing one or two folds short, knowing i’ll deflate the mixture a bit more when I go to fill the piping bag and as I’m piping out the macarons.

4. Piping the macarons: Prepare two half sheets lined with parchment paper with a total of 12 3.5” circles penciled out. Pipe the macarons using a piping bag with a piping tip similar to the Wilton 2A tip. Use a little of the meringue in each corner of the parchment paper to stick the paper in place. Holding the pan with one hand, use the other to tap the pan from below to help any trapped air bubbles escape. Use a tooth pick to pop any stubborn ones at the surface. Let the macarons rest until a dull skin forms on top (this can take anywhere between 15 min - 1 hour depending on the humidity). Preheat the oven to 350 F as the macarons rest.

5. Baking the macarons: Bake the macarons one sheet at a time. After putting them in the oven, turn the oven down to 325 F. After 5 minutes, rotate the pan to help the macarons grow evenly. At this stage, you should see the feet start to develop. Continue baking for another 15 - 20 minutes until the macarons no longer move when nudged gently. It is better to err on the side of slightly overbaking as that can be corrected once you fill and refrigerate the macarons, but if you underbake, the feet may shrink coming out of the oven leaving you hollow shells and potentially sticking to the parchment. Let macarons fully cool on the baking sheet before using.

rose white chocolate cream: (this can be made ahead of time)

6. Make the ganache: In a small saucepan, heat up 50 g of the heavy cream until simmering. Pour over the chopped white chocolate and let it sit for 30 seconds before stirring together into a smooth chocolate ganache. Mix in the rose water, and cover and let the ganache firm up in the fridge.

7. Finishing the cream: In a stand mixer with whisk attachment, whisk the white chocolate ganache on medium speed for 2 - 3 minutes. The ganache may look liquid at this point. Slowly pour in the rest of the heavy cream (50 g) and whip until cream firms up to desired consistency. Be careful not to overmix.

putting it all together:

8. Prepare lychees: Roughly chop the lychees and pat dry any excess liquid.

9. Building the macarons: Build the macarons by arranging the raspberries and layering the cream and lychees. Refer to the images above for a detailed description. Make sure to store in an airtight container in the refrigerator for a few hours before serving.

rye and poppy seed chocolate chunk cookies

apple tarte tatin

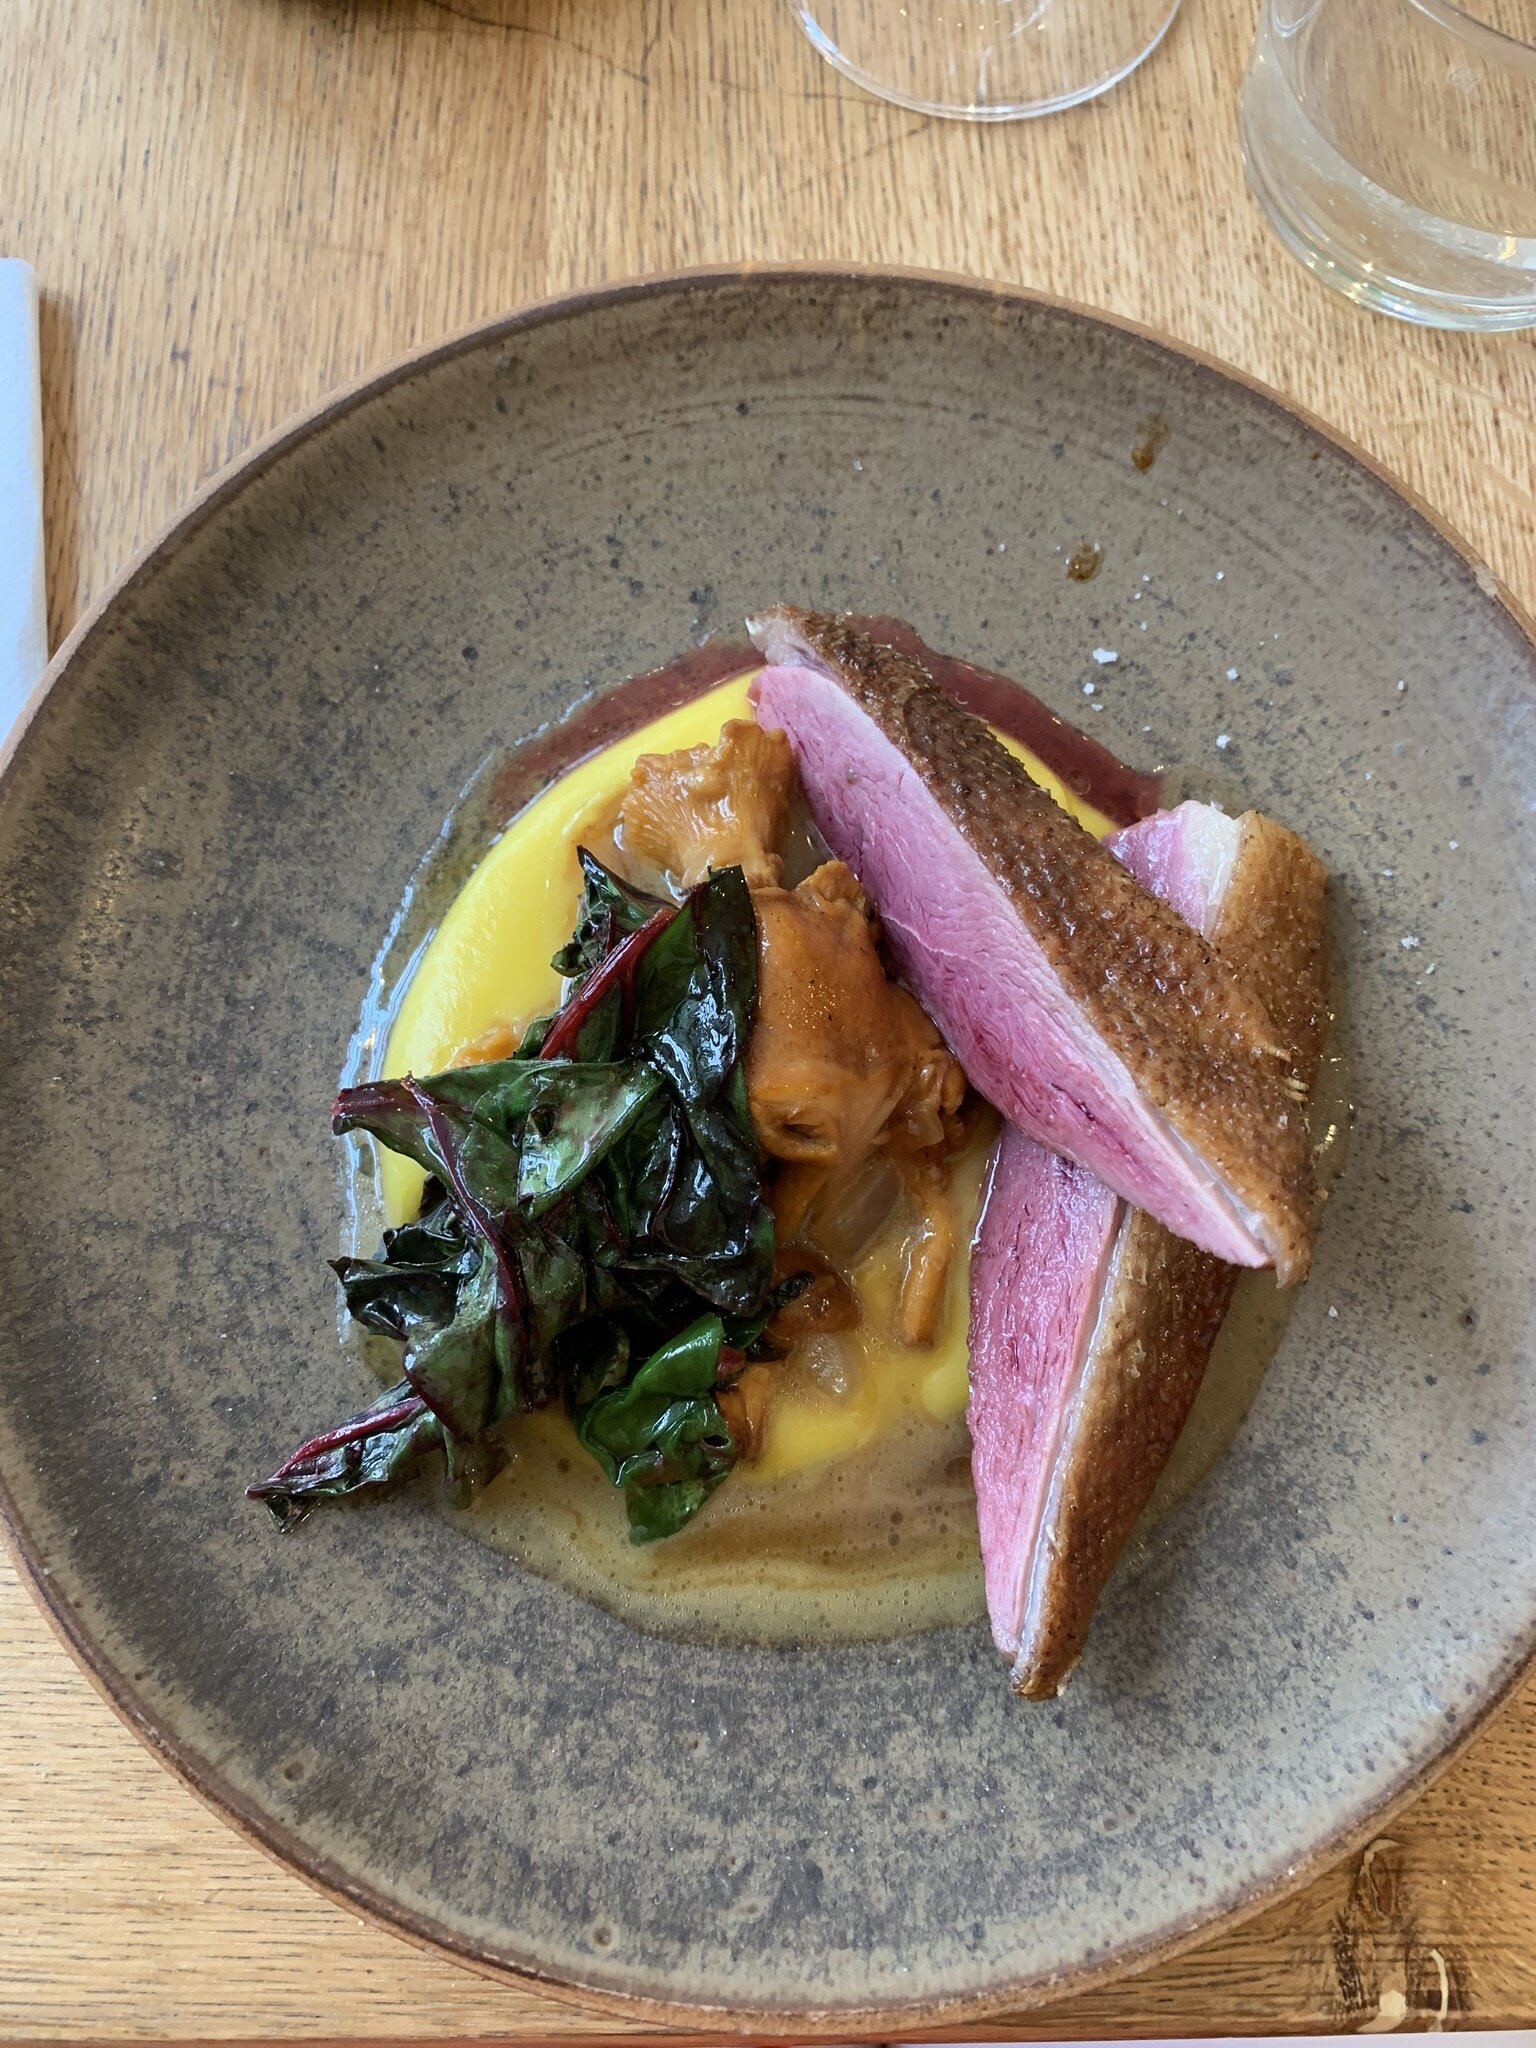
After a red eye flight from New York to Paris, I dropped my luggage off at my hotel and immediately headed out for my late lunch reservation at a little restaurant in the 11th arrondissement called Mokonuts. I was only in Paris for a few days before taking the train down to Bordeaux and this was the only reservation time available during my time in Paris, and no matter how bleary eyed I was coming off of the red eye, I was determined to make it to Mokonuts. If you google the name, you’ll find lots of hype around the husband and wife duo that run this charming cafe and it is certainly well deserved.

mokonuts paris
mokonuts duck breast

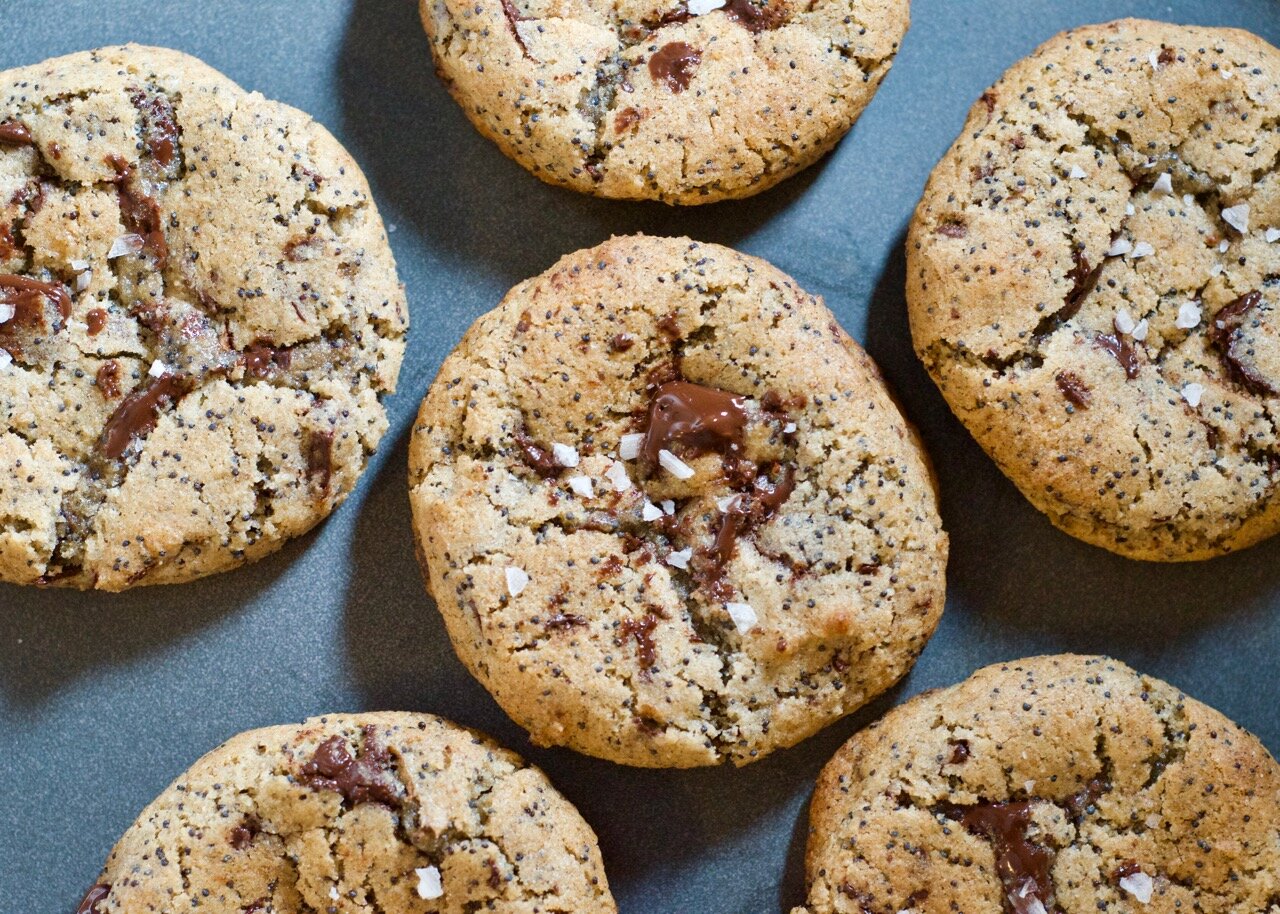
However, what they might be most famous for are Moko’s cookies. You don’t know what flavors you’re going to get every day, but it is guaranteed to be creative and delicious. Using unconventional flavors like miso or rye, Moko has reinvented the cookie. Next time i’m in Paris, Mokonuts will be my first stop again.

Dorothy Greenspan has published a recipe for a mokonuts cookie on NY Times (link) and the recipe below is a variation of that. The rye adds a nutty complexity that pairs perfectly with the bitter undertones of the dark chocolate, and the poppy seeds provide a little extra crunch. It’s quick and easy to whip up a batch, and even easier to keep some of the dough in the freezer so you can have freshly baked cookies at any time.

A few tips for success

  • Feel free to swap in additional add-ins like pumpkin seeds, nuts, cranberries etc. but be sure to a high quality chocolate. If you don’t like dark chocolate, feel free to swap in milk chocolate.

  • Tapping the still soft cookies right out of the oven helps give the cookies a chewier center


Rye & poppy seed chocolate chunk cookies
makes 7 cookies

ingredients

1/2 cup rye flour

1/4 cup AP flour

1/2 teaspoon baking powder

1/4 teaspoon baking soda

pinch of salt

4 tablespoons unsalted butter, room temp

1/4 cup sugar

1/4 cup brown sugar

1/2 egg, whisked

1/3 cup dark chocolate chunks

2 tablespoons poppy seeds

flaky salt

steps

Mixing dry ingredients: Combine the rye flour, AP flour, baking powder, baking soda, and salt.

Cream butter: Using the paddle attachment, cream together the butter, sugar, and brown sugar until light and fluffy and mix in the egg.

Mix and shape: Fold in the dry ingredients with the butter, in addition to the chocolate chunks and poppy seeds (along with any other additions you want to include). Divide the dough into 7 balls, and refrigerate for at least 3 hours. At this stage you can easily freeze the dough to bake at a later time.

Bake: Preheat the oven to 425 F. Set the dough balls at least 2 inches from each other, sprinkle on some flaky salt and bake for 10 minutes. Let the cookies cool for a minute, before gently flattening the center with a spatula. The cookies will be very delicate at this stage, and will firm up as it cools. Serve warm while chocolate is still melted.

lemon pistachio tart

lemon pistachio meringue tart

While we’ve all been staying home this summer, there is nothing like a lemon tart that will transport you straight to the streets of Paris. With a sweet buttery crust, bright zesty lemon cream, and an airy meringue, this is the kind of lemon tart that belongs on an outdoor cafe table along the streets of Saint Germain. The best part? It’s a dangerously simple recipe that you will make over and over again.

This recipe is adapted from Desserts by Pierre Hermé, a source I would trust with my life on all things French patisserie. The recipe for the pate sucrée (the tart crust) makes enough for 3 tarts, but they freeze wonderfully for future baking projects. I’ve adjusted the lemon cream recipe to reduce the amount of butter, because there was an obscene amount of butter, but don’t worry, the result is still a silky, creamy filling with just a little less guilt.

The meringue and pistachios are optional, but both elements really help balance out the strong lemon flavors of the cream. You can use either a fluted tart pan with the removable bottom, or in my case, I’ve elected to use a tart ring for a more streamlined look.


Lemon Pistachio Tart
makes one 9.5 inch tart

ingredients

for the pate sucrée (tart dough):

2.5 sticks (10 ounces) unsalted butter, room temp

1 1/2 cups powdered sugar, sifted

1 1/2 cups almond meal, lightly packed

1/2 teaspoon salt

1/2 teaspoon vanilla bean pulp (optional)

2 large eggs, room temp

3 1/2 cups AP flour

for the lemon cream filling:

1 cup sugar

zest of 3 lemons

4 large eggs

3/4 cup lemon juice (4-5 lemons)

1 stick unsalted butter, cut into chunks

for the meringue (optional):

4 egg whites. room temp

1 teaspoon white vinegar

1 cup sugar

1/4 cup water

1/4 cup chopped roasted pistachios

steps

Preparing the tart dough

1. Cream butter: Using the paddle attachment of a stand mixer, beat the butter until creamy and add in the sugar, almond, salt, and vanilla bean if using until well mixed. Continue to beat in the eggs one at a time, making sure to scrape down the sides.

2. Add in flour: With the mixer on low, mix in the flour in 2 or 3 additions until just incorporated - you don’t want to overmix at this step and create a tough dough. Divide the dough into 3 disks and refrigerate at least 2 hours.

3. Shape the dough: Take out one of the disks from the fridge to slightly soften up for 10 min. On a floured surface, roll out the dough to 1/8 - 1/4 inch thickness. If you’re having trouble with the dough cracking, roll out the dough between two sheets of parchment paper. To transfer the rolled out dough over to the tart ring, lightly roll up the dough over a rolling pan and unroll over the tart ring. Run the rolling pin across the top to cut off the extras. Don’t stretch the dough to fit as it will likely shrink in the oven, and if you have any spots missing, use any of the extra dough to patch those right up like you’re using play doh. Prick the dough all over with a fork to prevent air bubbles, and quickly pop back into the fridge for 30 min.

Preheat oven to 350 F.

4. Parbake: Line the dough with parchment and fill with dried beans/rice. Bake for 20 min. Remove parchment with the dried beans/rice and bake another 5-7 minutes until golden.

Lemon cream

1. Mixing: In a large bowl, rub the sugar and lemon zest together until fragrant. Whisk in the eggs, then followed by the lemon juice.

2. Thickening the cream: Using a double broiler, with the bowl over a pot of boiling water, continue stirring the lemon mixture until it thickens where the whisk is leaving tracks (around 180 F). Be patient - the mixture will remain quite liquid until it nears the right temperature, and can take around 10 minutes. Keep an eye on it to avoid overcooking.

3. Adding in the butter: Once lemon mixture has reached the right consistency, whisk in the butter until it has dissolved. Bonus: do this step in a blender to create an extra airy and smooth cream.

Optional: Push the cream through a sieve to remove any lumps.

4. Cool: Line the surface directly with plastic wrap to avoid a skin forming, and let it come to room temperature.

Meringue

1. Meringue base: Using the whisk attachment, start beating the egg whites and vinegar together until soft peaks form.

2. Sugar syrup: I’m using an Italian meringue method to partially cook the meringue as we won’t be baking it. Simultaneously as you start running the mixer with the egg whites, add the sugar and water to a saucepan and bring to a temperature of 235 F, otherwise known as the soft ball stage. If you meringue is going faster than your sugar syrup, turn down the speed of the mixer but don’t stop it.

3. Adding in the sugar: Once the sugar has come to temp, keep mixer on low as you pour in the sugar syrup into the meringue. Make sure to do this along the edge of the bowl where it meets the meringue. Once the sugar is in, turn the mixer back on high until the meringue reaches stiff peaks. Use this meringue to pipe immediately.

Putting it all together

Now that you have all the components ready, fill the tart shell with the prepared lemon cream and level off using an offset spatula (or any other long flat utensil of your choosing). Using a piping bag fitted with a round piping tip, pipe round dollops of the meringue in circles on top of the lemon cream, reserving the center for the chopped pistachios. Serve immediately! But it will keep will in the fridge overnight as well.

Optional: If you own a blow torch for some reason, this is the time to break that baby out and give it that meringue some nice color. I had only recently acquired one myself, and have had way too much fun with it.